# Set up PowerShell
## Set up Powershell
1. Search and open the **Windows PowerShell ISE** with right-click on **Windows PowerShell ISE** -> **Run as Administrator** to open Windows PowerShell as an Administrator.
2. Run the “**Install-Module -Name Az -AllowClobber -Force**” command on the Windows PowerShell terminal. This command installs the "Az" module in PowerShell, allowing us to use the PowerShell cmdlets provided by the module to manage Azure Services.
3. Run the “**Install-Module -Name SqlServer -AllowClobber -Force**” command on the Windows PowerShell terminal. This command is used to install the “SqlServer” module in PowerShell.
## Install kubectl
The Kubernetes command-line tool, **kubectl**, is needed to run commands against Kubernetes clusters. Follow the steps detailed below to establish a kubectl configuration:
1. Installing kubectl:
1. Download the [.exe kubectl file](https://dl.k8s.io/v1.32.3/bin/windows/amd64/kubectl.exe) for Windows.
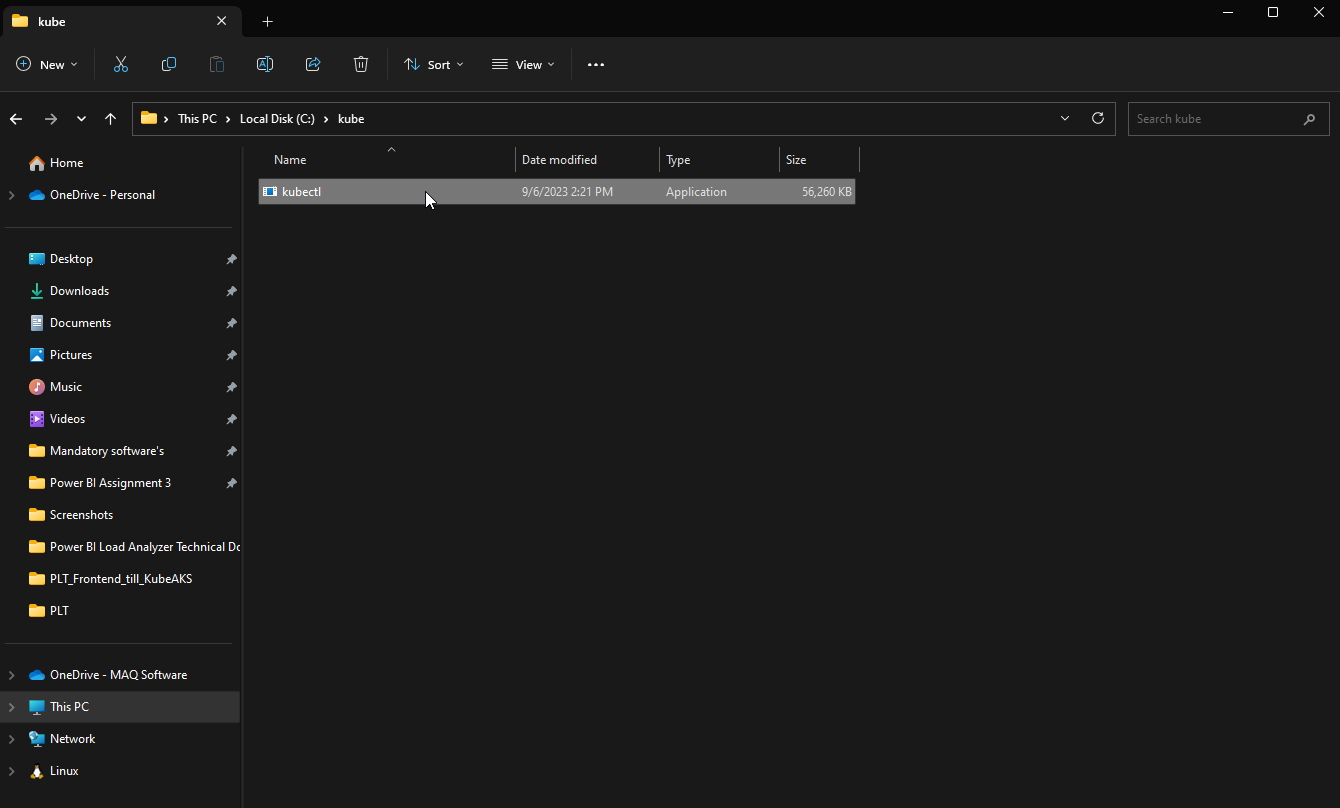
2. Create a new folder in the C drive. Name it "**kube"** and paste the kubectl.exe file inside it.
2. Setting the path:
1. Select the **Windows key+X** to access the Power User Task Menu.
2. Select the **System** option.
3. In the **About** window, click the **Advanced system settings** link below under the **Device specifications** section.
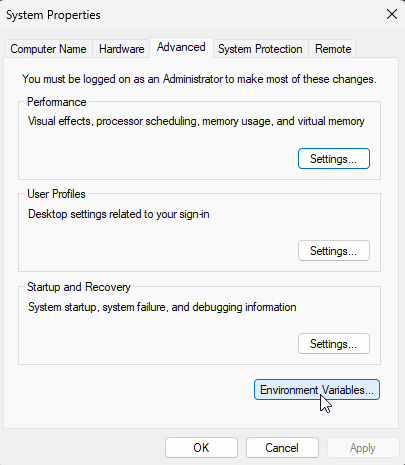
4. In the **System Properties** window, click on the **Advanced** tab located at the top section.
5. Click on **Environment Variables...** on the bottom-right of the **Advanced** tab.
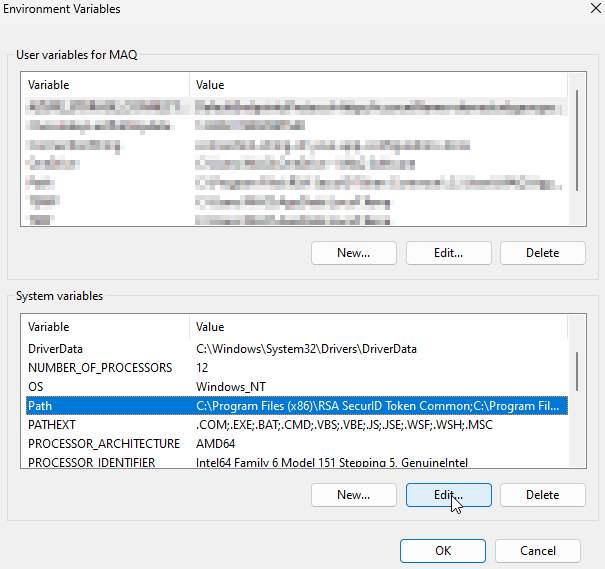
6. In the **System variables** section, select the **Path** variable and click on **Edit**.
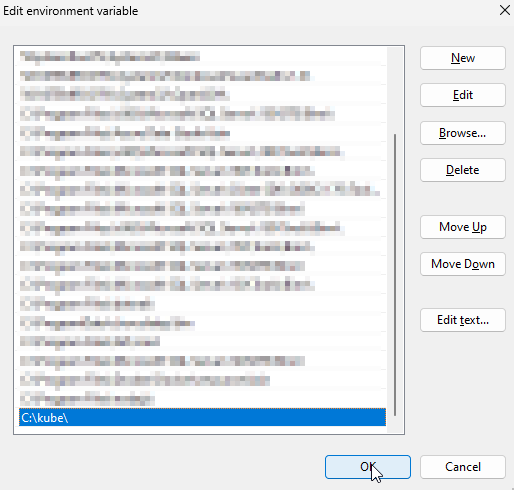
7. Click **New** and type "**C:\kube**" in the text field. Click on **OK** to add the text as a new path.
3. Verifying the installation with the Command Prompt:
1. Click the **Windows icon** to open the **Start Menu**.
2. Search for the **Command Prompt** and open it.
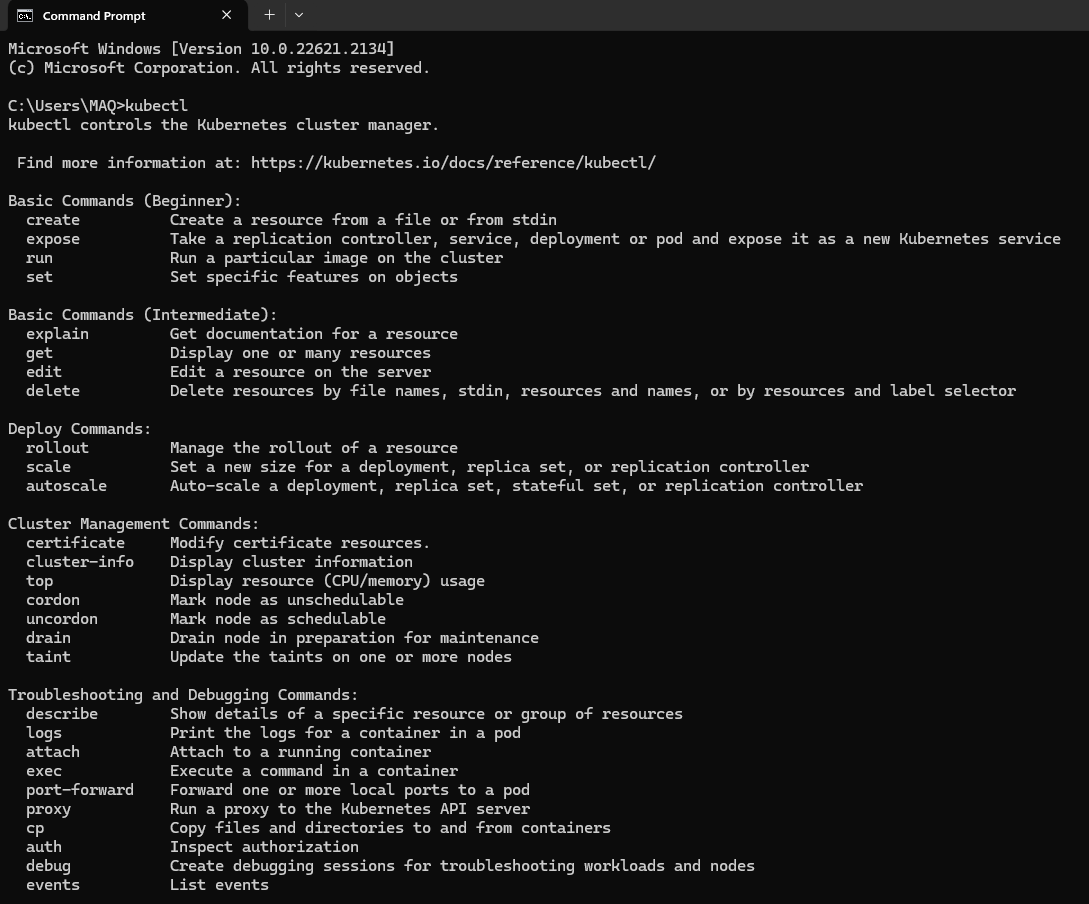
3. Type and enter “**kubectl**” inside the Command Prompt to run it.
4. If you see the screen shown in the image below, you've successfully installed kubectl on your machine.