Add the redirect URIs
Navigate to the redirect URIs section
Redirect URIs are used to authenticate Swagger so that our API EndPoints can be run on it.
Type “App registrations" in the Azure portal search bar and select said option as it appears.
Click on Owned applications to see a list of applications you registered and click on EmbedFASTAuth. [image with correct name needed]
Select Authentication (under Manage) from the left pane.
Click on Add a platform.
Set up the redirect URI for the app
After completing the steps from the Navigate to the redirect URIs section, follow the steps detailed below:
Select Single-page application from the right-pane.
Enter 'https://oauth.pstmn.io/v1/browser-callback' in the Redirect URIs field.
Under the Implicit grant and hybrid flows section, ensure these options are selected:
Access tokens (used for implicit flows)
ID tokens (used for implicit and hybrid flows)
Click on Configure to save the changes.
Set up the redirect URI for admins and users
You will need to add two URIs: one for admins and one for users. The URIs will be in this format: “https://<name>.azurewebsites.net/”, where name will be replaced with the respective admin and user web app names. Follow the steps detailed below to first get the admin and user web app name:
Type “Resource groups" in the Azure portal search bar and select said option as it appears.
Once on the page, you will see a list of resource groups displayed. Select the resource group that you have used previously (to create the managed application).
Find and select the managed application as shown in the image below:
Select Managed resource group.
An overview page will open which will display all the resources.
The admin web app is the one highlighted in the image below. Note down its full name.
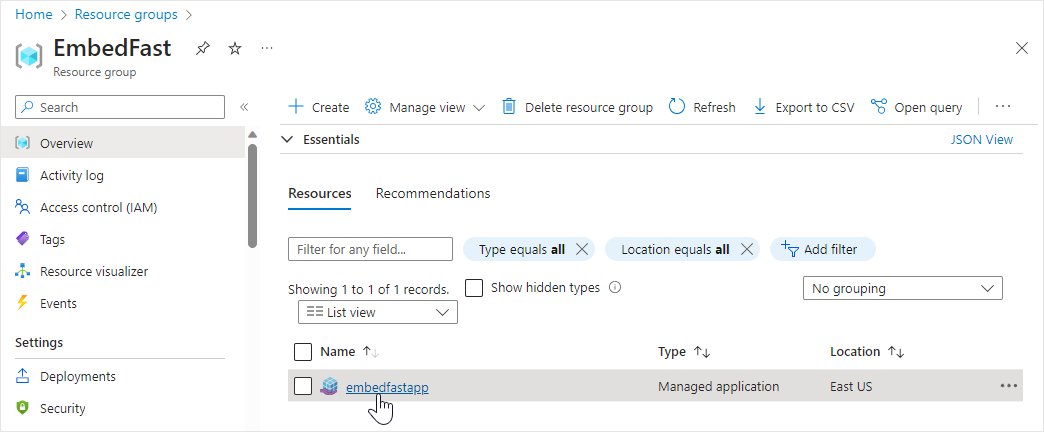
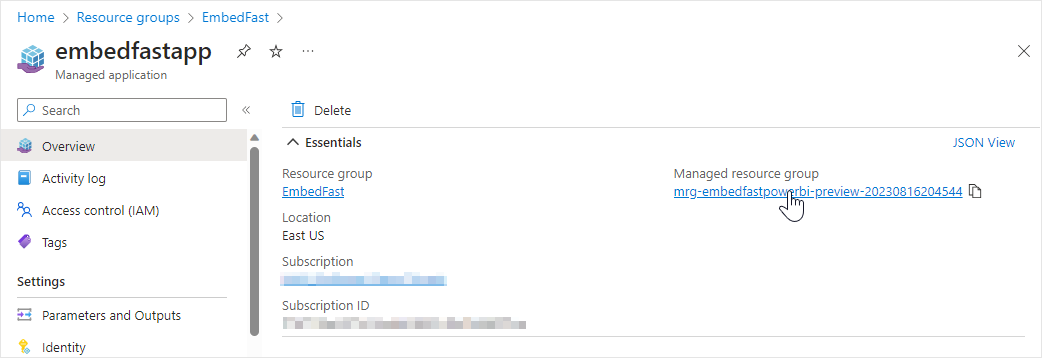
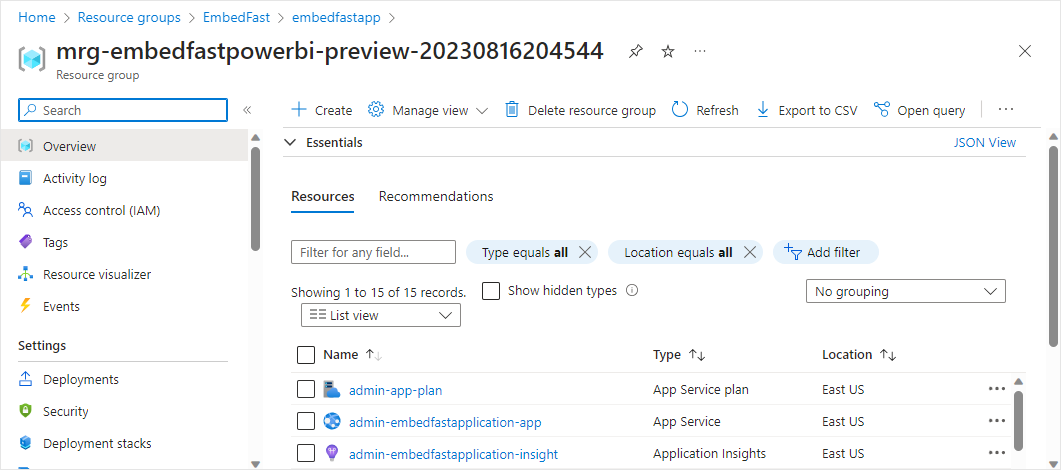
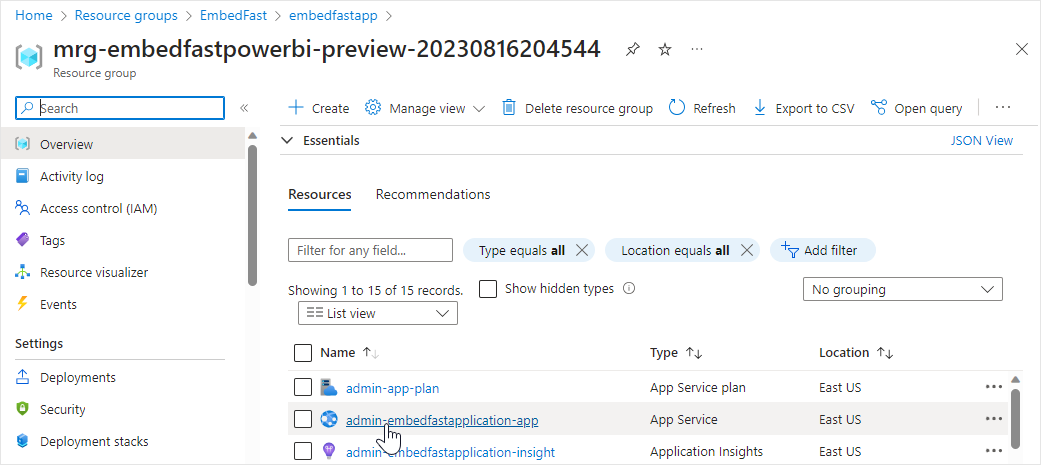
Note: The format for the name of the admin web app for will be "admin-nameoftheapp-app", where nameoftheapp is based on the app name selected in Azure (for automatic deployment) or in the PowerShell terminal (for manual deployment).
Alternatively, clicking the app's name takes you to its summary page where you can also see the admin web app name in a larger font.
Returning back to the page in step 4, you can also find the user web app as shown below. Note down its full name.
Alternatively, clicking the app's name takes you to its summary page where you can also see the user web app name in a larger font.
After noting down the admin and user web app names, continue on from the steps in the Navigate to the redirect URIs section by following the steps detailed below:
Select Web from the right-pane.
Enter the redirect URI for the admin web app in the Redirect URIs field. Click on Configure to save the changes.
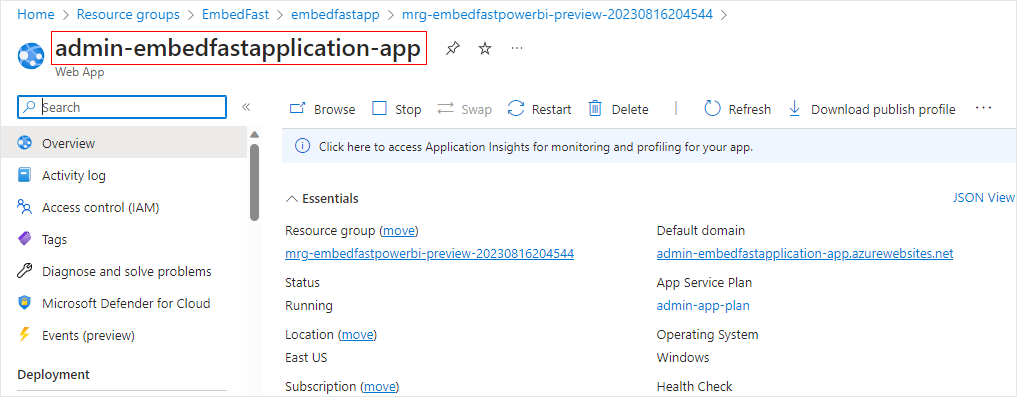
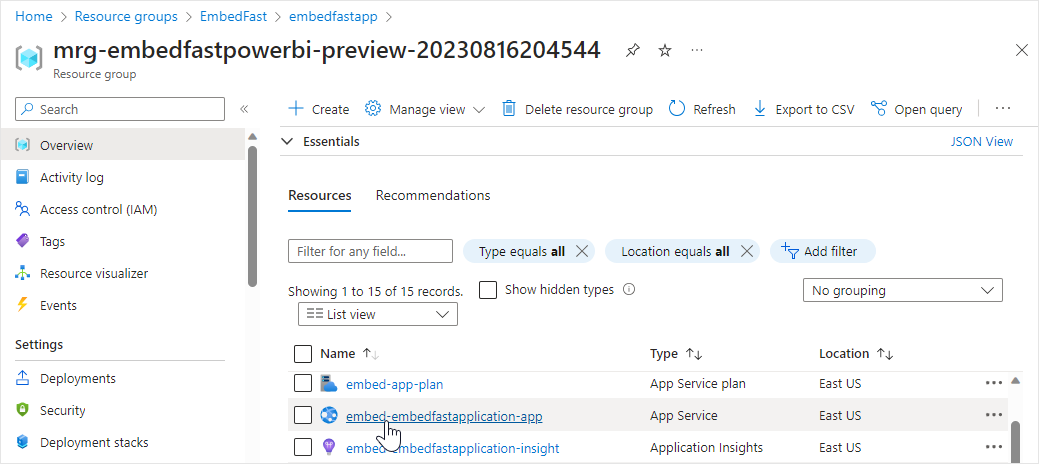
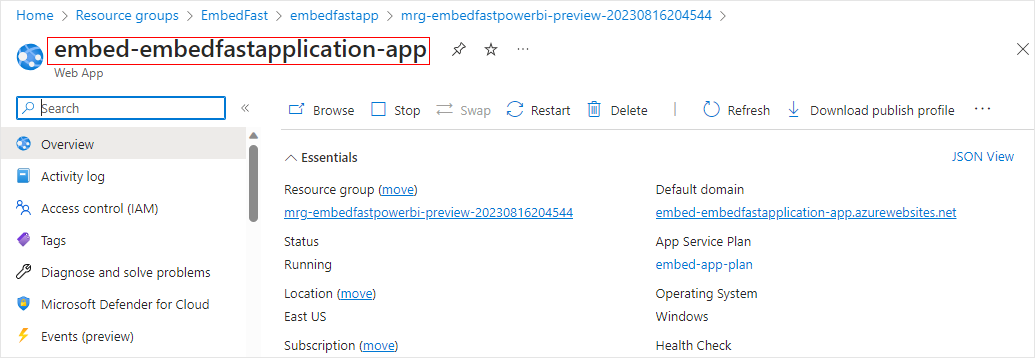
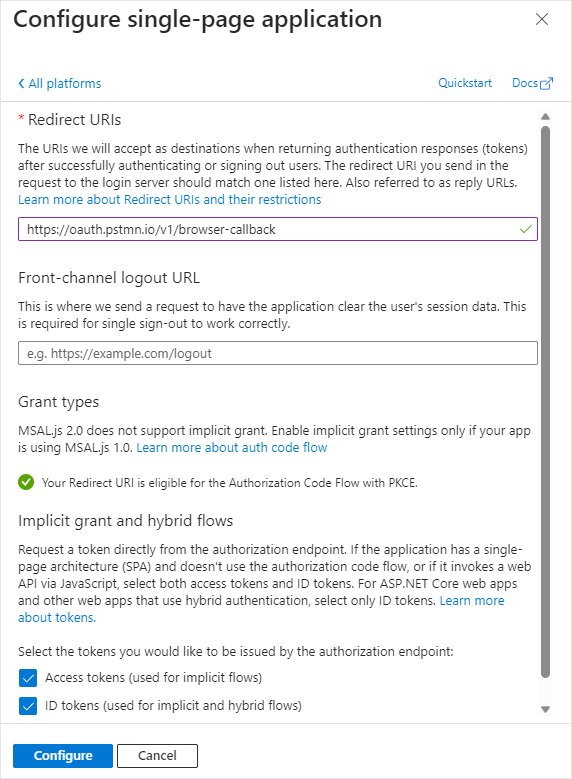
Reminder: The admin and user web app URIs will be in this format: “https://<name>.azurewebsites.net/”, where name will be replaced with the respective admin and user web app names.
Repeat the 2 previous steps and enter the redirect URI for the user web app in the Redirect URIs field. Click on Configure to save the changes.
Last updated