> For the complete documentation index, see [llms.txt](https://maqsoftware.gitbook.io/embedfast-technical-documentation/llms.txt). Markdown versions of documentation pages are available by appending `.md` to page URLs; this page is available as [Markdown](https://maqsoftware.gitbook.io/embedfast-technical-documentation/setting-up/prerequisites/set-up-azure.md).
# Set up Azure
Detailed below are the Azure-related prerequisite steps to complete to set up the EmbedFAST.
### **Azure subscription**
You need an active Azure subscription to deploy resources.
### **Owner role within the Azure subscription**
You need to grant yourself the “Owner” (Privileged Administrator) role for the subscription to create a managed application. This gives you full ownership and extensive permissions. Follow the steps listed below to assign yourself the Owner role:
1. Log into the [Azure portal](https://portal.azure.com).
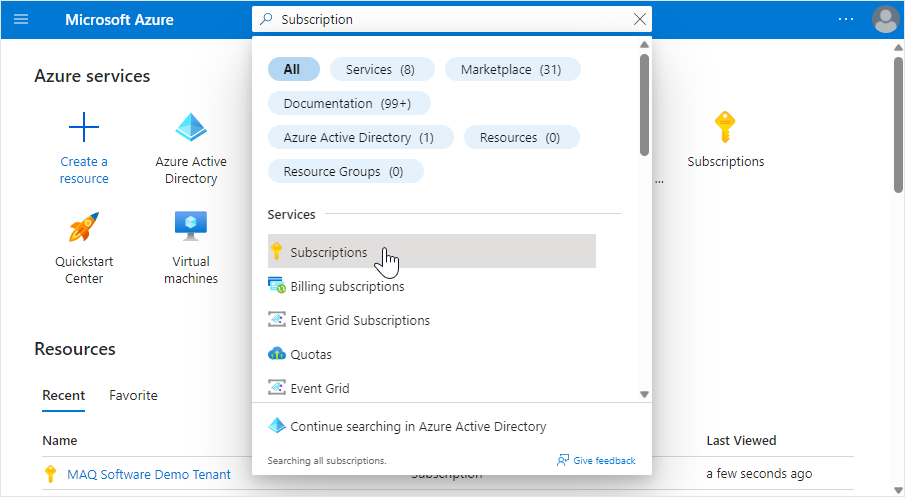
2. Type “**Subscriptions**" in the search bar and select said option as it appears.
3. Click on your subscription's name to open its overview page.
4. Select **Access Control (IAM)** from the left pane.
5. Click on **Add** and select **Add role assignment** from the drop-down pane.
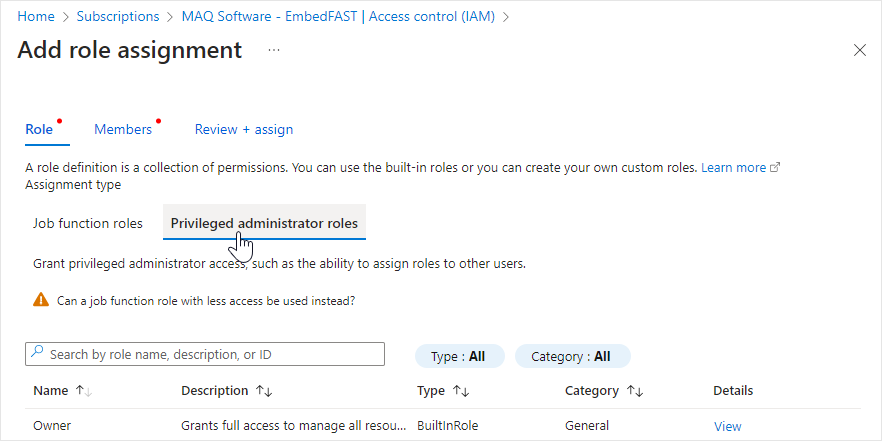
6. Select the **Privileged administrator roles** subsection and search for **Owner** in the search box.
7. Select the **Owner** role and click on **Next** at the bottom of the page.
8. Click on **Select members.**
9. Search for your account ID in the **Select** entry field and select it.
10. Review the details. Click on **Review + assign** to complete the process.
### **Resource group**
You need to have a resource group (in the Azure subscription) where all the resources related to this application will be deployed.
* Having Owner access grants you full control over the subscription, allowing you to create, manage, and delete resources.
* You must have Owner access within the Azure subscription to deploy resources (follow the steps detailed in point 2. to assign this access).
* Follow the steps detailed below to create a resource group:
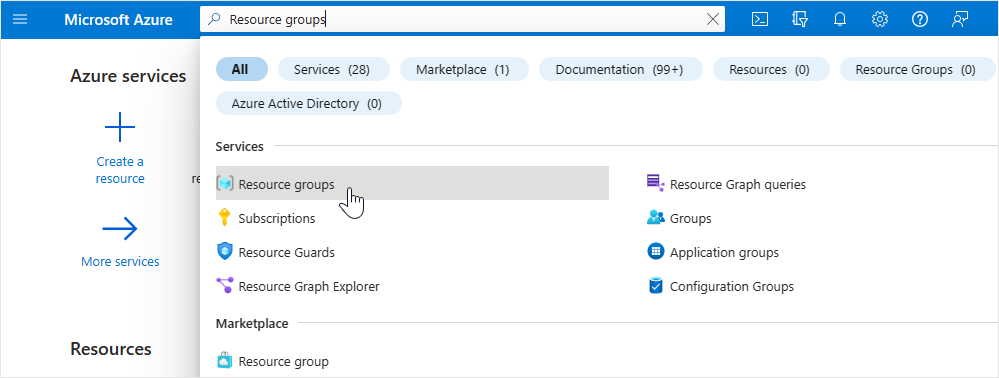
1. Type “**Resource groups**" in the [Azure portal](https://portal.azure.com) search bar and select said option as it appears.
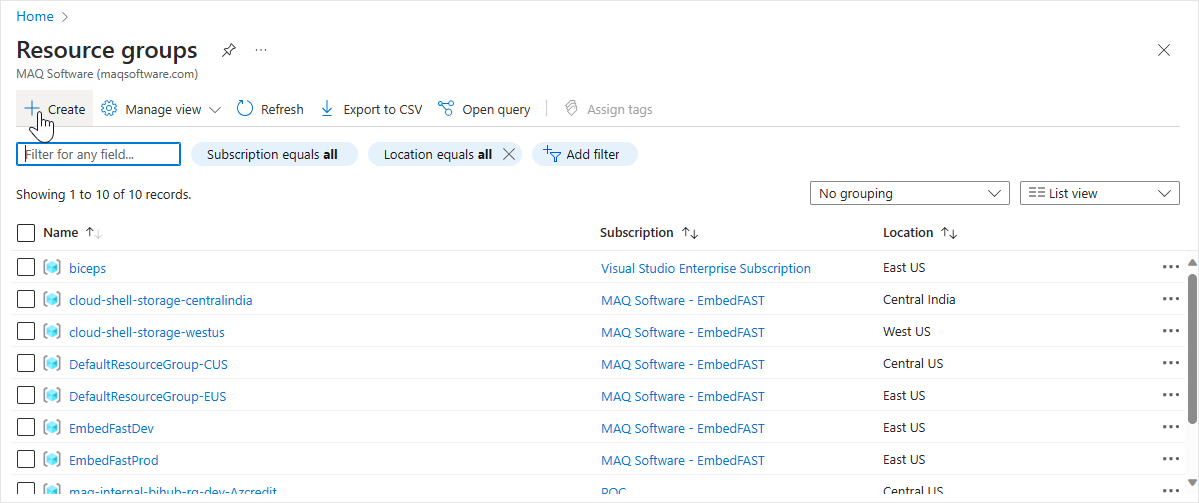
2. Click on **Create**.
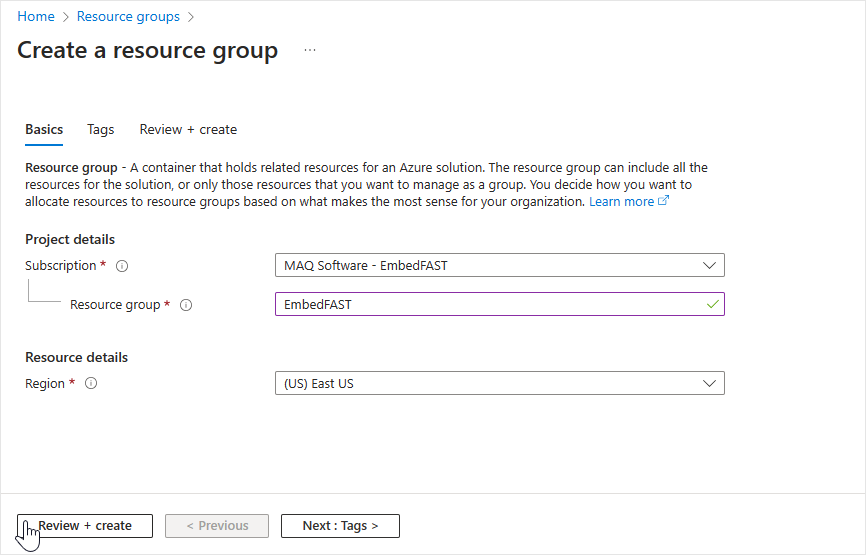
3. On the **Create a resource group** page, provide the following information:
* Subscription: The subscription where you have Owner access on it.
* Resource Group: Create and enter a unique name for your resource group. This name could be descriptive and reflect the purpose of the resource group.
* Region: Choose the Azure region where you want to create the resource group. Note that it can affect billing and management.
4. Click on **Review + create** to create the resource group. Azure will validate your configuration for any errors.
5. You can access and manage the resource group by navigating to **Resource groups** in the left-hand menu of the Azure portal.
.png?alt=media)
.png?alt=media)
.png?alt=media)
.png?alt=media)
.png?alt=media)