> For the complete documentation index, see [llms.txt](https://maqsoftware.gitbook.io/embedfast-technical-documentation/llms.txt). Markdown versions of documentation pages are available by appending `.md` to page URLs; this page is available as [Markdown](https://maqsoftware.gitbook.io/embedfast-technical-documentation/setting-up/prerequisites/old-set-up-power-bi-and-azure.md).
# OLD Set up Power BI and Azure
Detailed below are the Power BI and Azure-related prerequisite steps to complete to set up the EmbedFAST.
## Power BI
Ensure you have at least one embedded or premium Power BI capacity to use the EmbedFAST on. If one is not available, follow the steps detailed below to create a capacity:
1. Log into the [Azure portal](https://portal.azure.com).
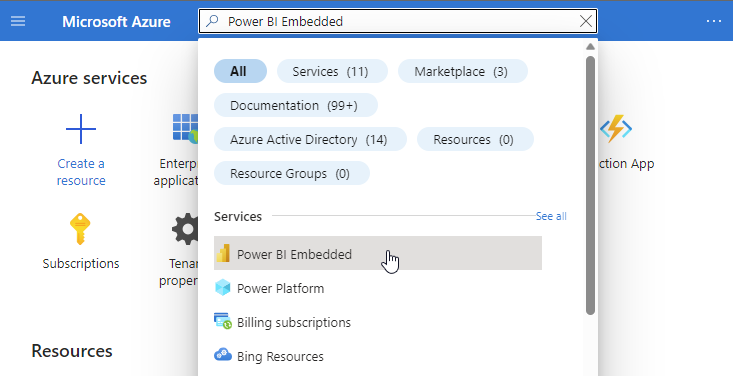
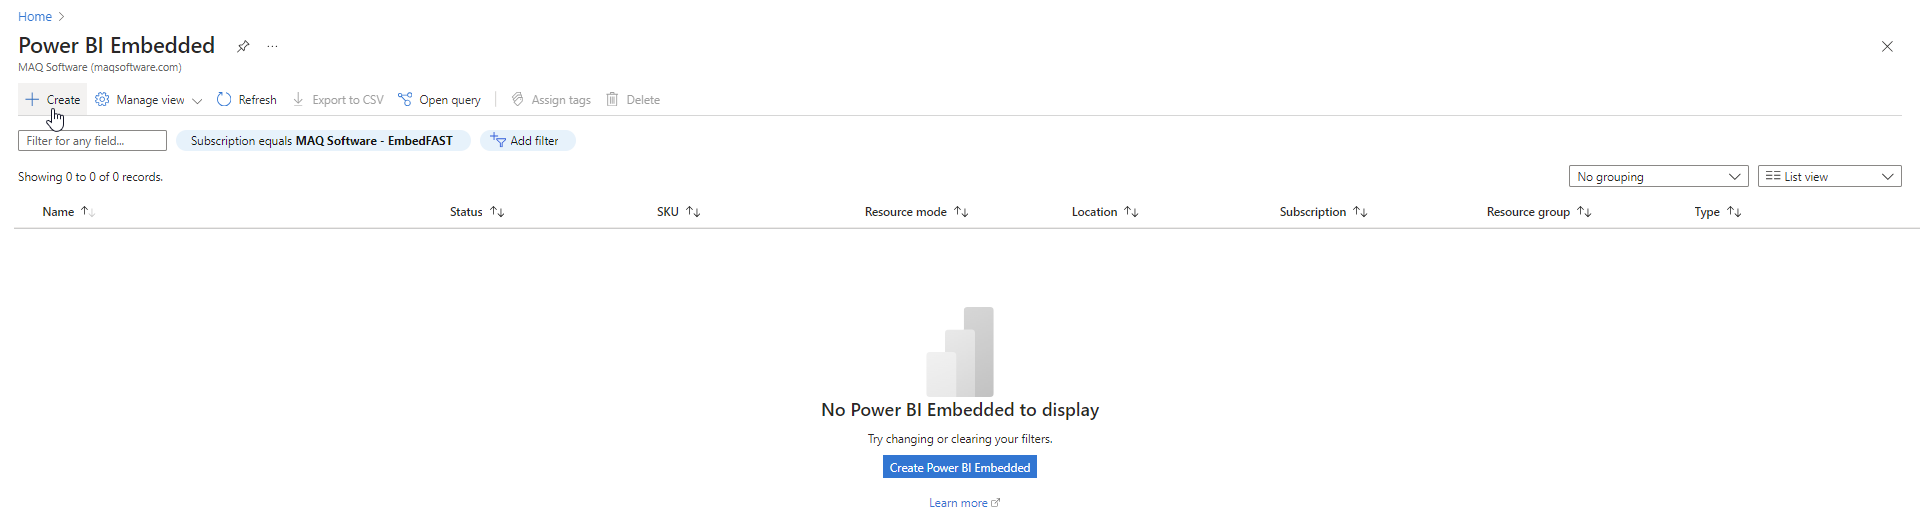
2. Type “**Power BI Embedded**" in the search bar and select said option as it appears.
3. Click on **Create**.
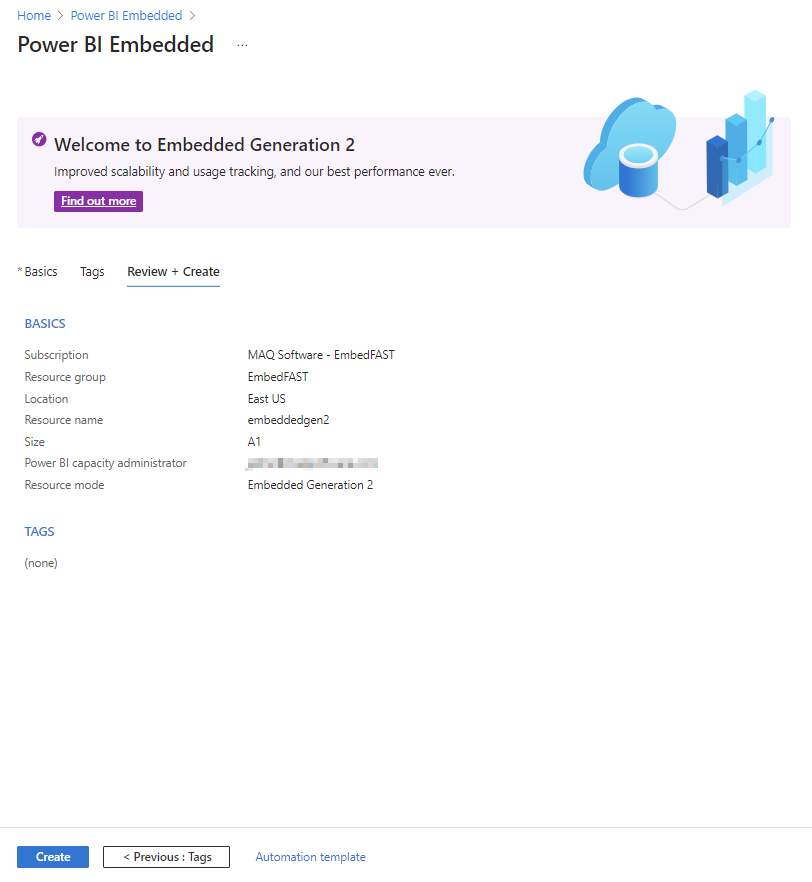
4. Fill in the required information in the **Basics** tab (guidance provided below). Select **Next** to go through all the tabs. On the **Review + Create** tab, review the information provided and select **Create**.
* PROJECT DETAILS
* Subscription: Choose the same subscription that will be used to deploy the EmbedFAST in Azure Marketplace.
* Resource group: Choose a resource group. The resource group should be inside the same tenant/subscription that will be used to deploy the EmbedFAST.
* RESOURCE DETAILS
* Resource name: Create and enter a name. This is the embed capacity name and will be used for the [Configure the capacity settings](https://maqsoftware.gitbook.io/embed-fast-technical-documentation/setting-up/pre-deployment/set-up-and-configure-the-power-bi-tenant-settings#configure-the-capacity-settings) steps (in pre-deployment) and the steps following it. In our example, we have called it embeddedgen2.
* Location: Choose a location.
* Size: This is the Power BI embed capacity size. Select the resource size that best meets your needs.
* Power BI capacity administrator: Enter the relevant user.
## Azure
### **Azure subscription**
You need an active Azure subscription to deploy resources.
### **Owner role within the Azure subscription**
You need to grant yourself the “Owner” (Privileged Administrator) role for the subscription to create a managed application. This gives you full ownership and extensive permissions. Follow the steps listed below to assign yourself the Owner role:
1. Log into the [Azure portal](https://portal.azure.com).
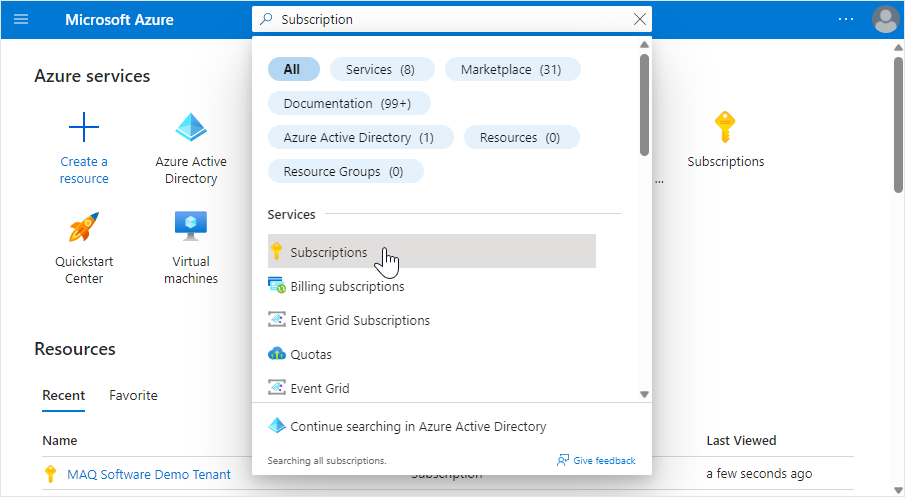
2. Type “**Subscriptions**" in the search bar and select said option as it appears.
3. Click on your subscription's name to open its overview page.
4. Select **Access Control (IAM)** from the left pane.
5. Click on **Add** and select **Add role assignment** from the drop-down pane.
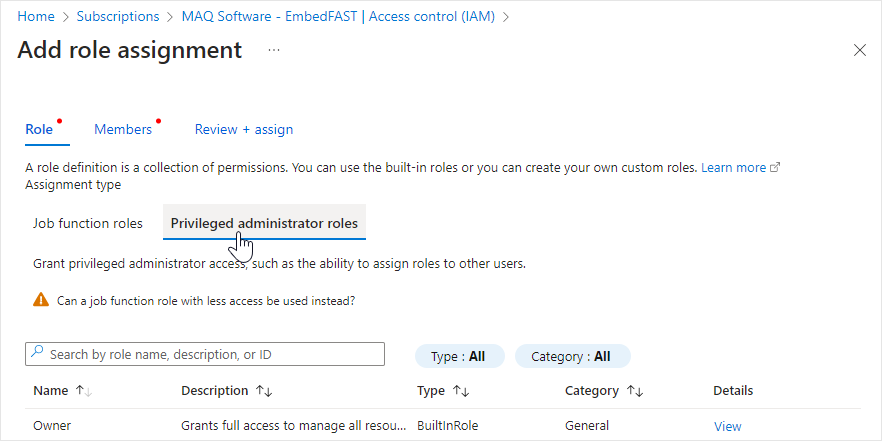
6. Select the **Privileged administrator roles** subsection and search for **Owner** in the search box.
7. Select the **Owner** role and click on **Next** at the bottom of the page.
8. Click on **Select members.**
9. Search for your account ID in the **Select** entry field and select it.
10. Review the details. Click on **Review + assign** to complete the process.
### **Resource group**
You need to have a resource group (in the Azure subscription) where all the resources related to this application will be deployed.
* Having Owner access grants you full control over the subscription, allowing you to create, manage, and delete resources.
* You must have Owner access within the Azure subscription to deploy resources (follow the steps detailed in point 2. to assign this access).
* Follow the steps detailed below to create a resource group:
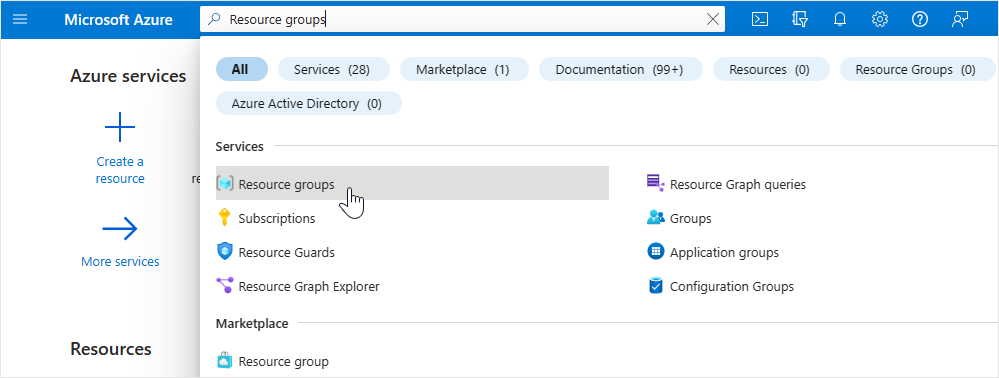
1. Type “**Resource groups**" in the [Azure portal](https://portal.azure.com) search bar and select said option as it appears.
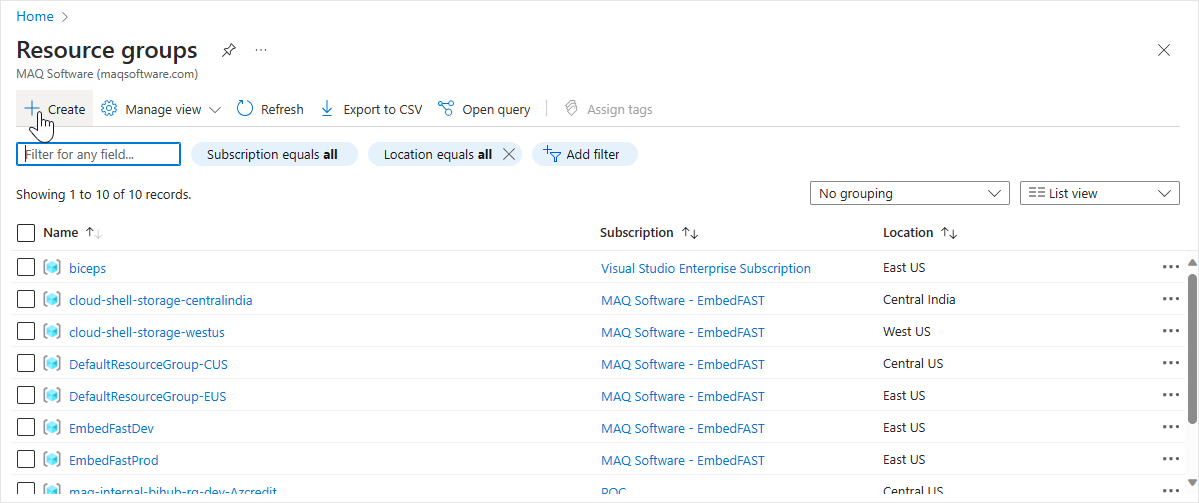
2. Click on **Create**.
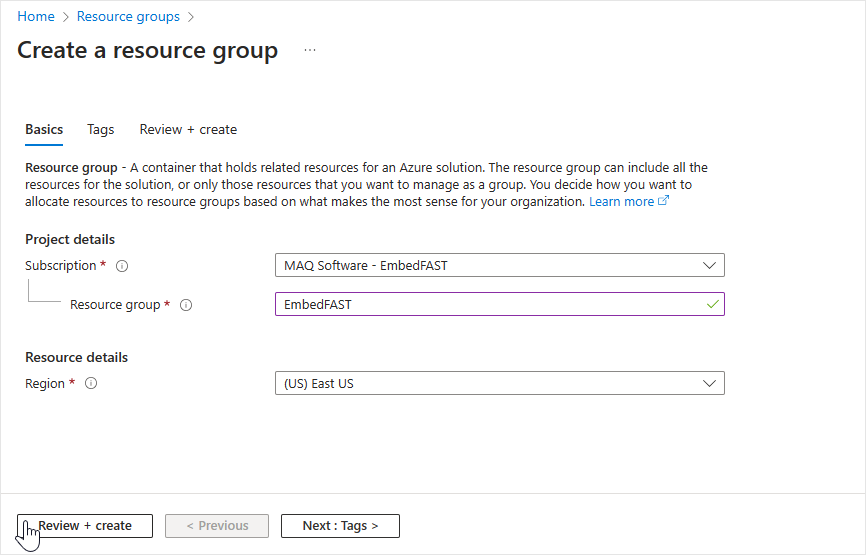
3. On the **Create a resource group** page, provide the following information:
* Subscription: The subscription where you have Owner access on it.
* Resource Group: Create and enter a unique name for your resource group. This name could be descriptive and reflect the purpose of the resource group.
* Region: Choose the Azure region where you want to create the resource group. Note that it can affect billing and management.
4. Click on **Review + create** to create the resource group. Azure will validate your configuration for any errors.
5. You can access and manage the resource group by navigating to **Resource groups** in the left-hand menu of the Azure portal.
.png?alt=media)
.png?alt=media)
.png?alt=media)
.png?alt=media)
.png?alt=media)